Landscapes
On this page
Overview
Landscapes are a tool for helping a project showcase the open source and downstream commercial ecosystem for the technology space a project serves. This would include:
- Projects hosted by a project
- Members of the project
- Open source projects in the technology space, but not hosted by the Project
- Adopters and/or Conformance program offerings, if any
- Landscapes are built as an open source project, managed via GitHub, and defined using YAML files.
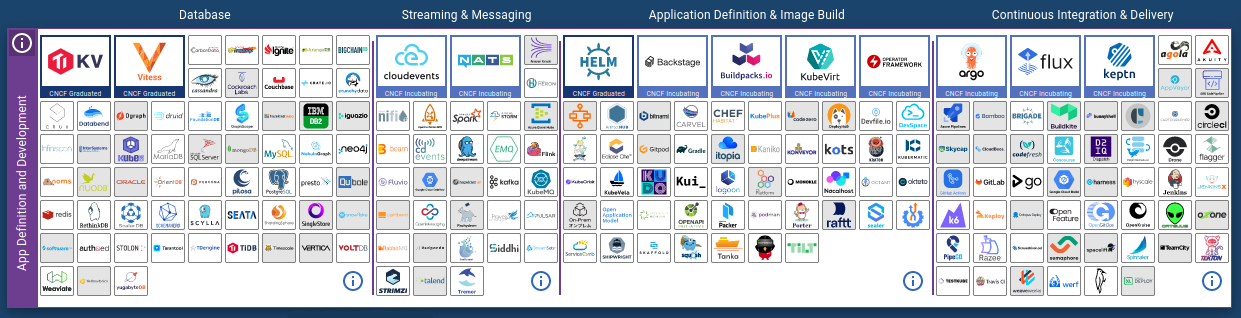
All of the current landscapes managed by the LF are at https://landscapes.dev/
Creating your first landscape
Determining the scope of the landscape
First you need to work with the community on the scope of projects to include in the landscape. Questions to ask include…
- What is the full scope of projects to include? Is it just hosted projects, or any in the related space?
- Threshold for project inclusion. Some landscapes have a minimum GitHub stars requirement; others might be that it’s used in production.
- Categories. The landscape allows both a primary category and sub category, but note that a project can only be in one category.
- What other efforts should be shown. Examples from other landscapes include…
- Presto adopters
- Zowe Conformant offerings
- Kubernetes Training Partners
It’s best to use a collaborative document to pull all of this together and achieve consensus.
Initial build out
Next, you can start building out the framework of the landscape. You can follow the instructions at https://github.com/cncf/landscapeapp/blob/master/README.md#creating-a-new-landscape to get started.
Here’s what you will need for each entry:
- For open source projects, a link to their repo on GitHub. Some projects are larger and have multiple repos or use a GitHub organization; in this case you’ll want to pick the primary repo for the landscape listing.
- A pure SVG logo. This is really important; pure SVGs are needed to ensure the logo renders well across the many sizes it will be used in the landscape. More details on acquiring pure SVGs is at https://github.com/cncf/landscapeapp/blob/master/README.md#images
- A Crunchbase organizational entry, which points to the primary owner, sponsor, or main developer of the project. For smaller independent projects you might have to create a new entry. More details at https://github.com/cncf/landscapeapp/blob/master/README.md#crunchbase-requirement
- Webpage URL, or if that doesn’t exist a link to the repo.
- For getting a list of the project’s current members, check out the scripts at https://github.com/jmertic/landscape-tools to get that list in YAML format that can be included directly in the landscape.yml file.
Managing Landscapes
You can do much of the management work of landscapes using a few different tools.
Web Landscape editor
Head to https://weblandscapes.ddns.net/ and you can select the landscape you wish to make changes to.
Local editing
You can modify and change the landscape locally and then push upstream once done. This is a good way to do the initial buildout as it’s a bit quicker.
You will need:
- Visual Studio Code
- Github Desktop
Step 1:
Getting your code checked out https://github.com/cncf/landscape has a green button called ‘CODE’. Click on that and choose ‘Open with GitHub Desktop’.
Step 2:
You should be able to ‘show in visual studio code’ and ‘show in finder’. Hit both.
Visual Studio code:
- Open landscape.yaml and go nuts
Finder: Open hosted logos – just drag and drop your logos in.
Step 3: Move your changes to a new branch! Github Desktop lists ‘current branch’ as master. (We really need to change this to main, this is not inclusive naming.) You’ll want to create a new branch, and migrate your changes to it.
Step 4: Commit your changes to that new branch and push to origin.
Step 5: Click ‘Create Pull Request’ to go back to GH like you expect.
Helpful tips: Having SFDC open at the same time will make sure you’re getting the RIGHT Widgets Inc. Example: Tensor Security – find the account in SFDC, click view website. Behold: https://www.tensorsecurity.cn/
Good to Know Doing landscape development on your local machine to start is the most efficient path to get started, but that does require setting up git and node.js on your local machine along with a text editor. Once the landscape is established, you can easily make updates on the GitHub repo itself.